The Battle of Pegasus Bridge
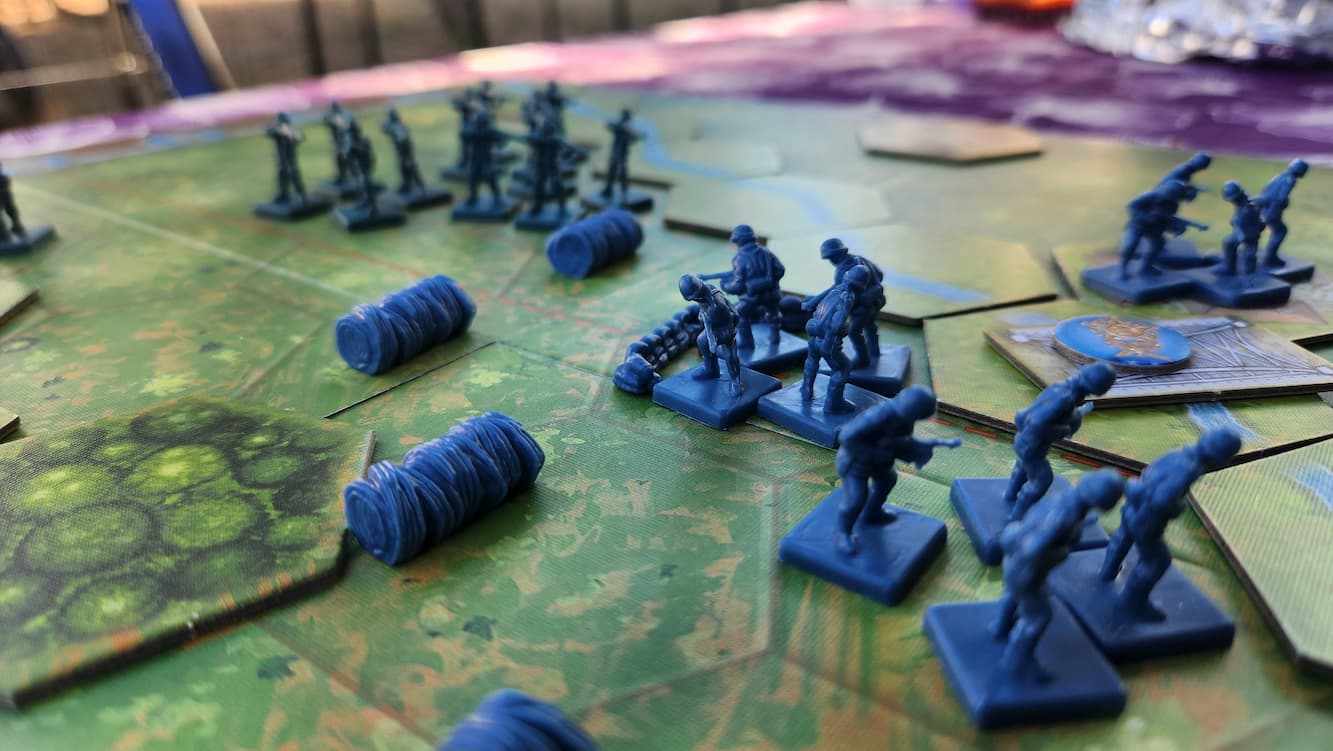
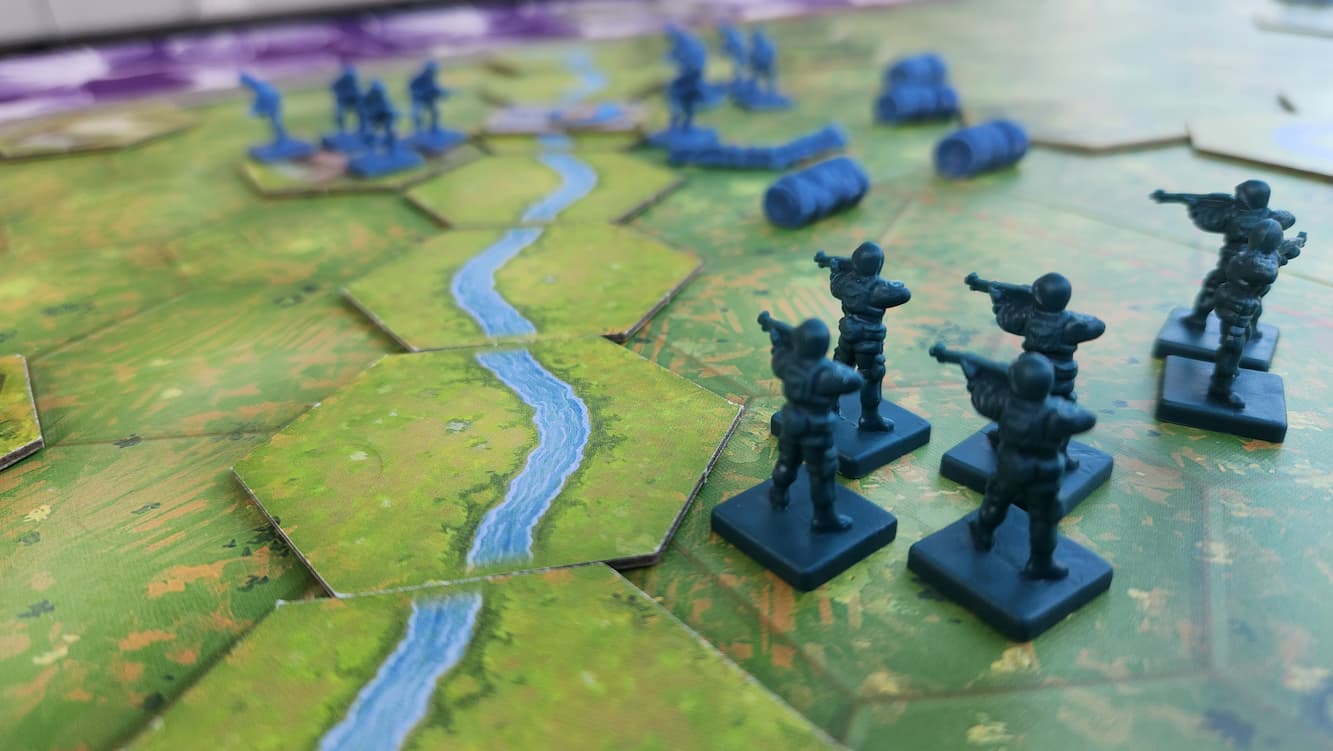
The early morning mist clung to the Orne River as Allied paratroopers crept through hedgerows and Axis defenders scanned the bridges ahead. Pegasus Bridge loomed in the half-light, its steel latticework casting long shadows across the water. Both sides knew: whoever held this crossing at daybreak would dictate the pace of the invasion to come.
Opening Moves
The Allies struck first, a probing advance toward the side bridge. Two squads moved at full speed, dodging sporadic fire. Axis defenders countered with their own center probe, dug-in troops forcing one Allied squad to retreat while another lost a man to a burst from an entrenched MG42.
"We sprinted low and fast, thinking we had the element of surprise. Then the bridge lit up with tracers. We hit the dirt and crawled for cover."
- Allied Paratrooper
Allied return fire chipped away at the dug-in Axis unit. Two direct hits punched through the sandbags while another squad advanced, trading volleys across the river.
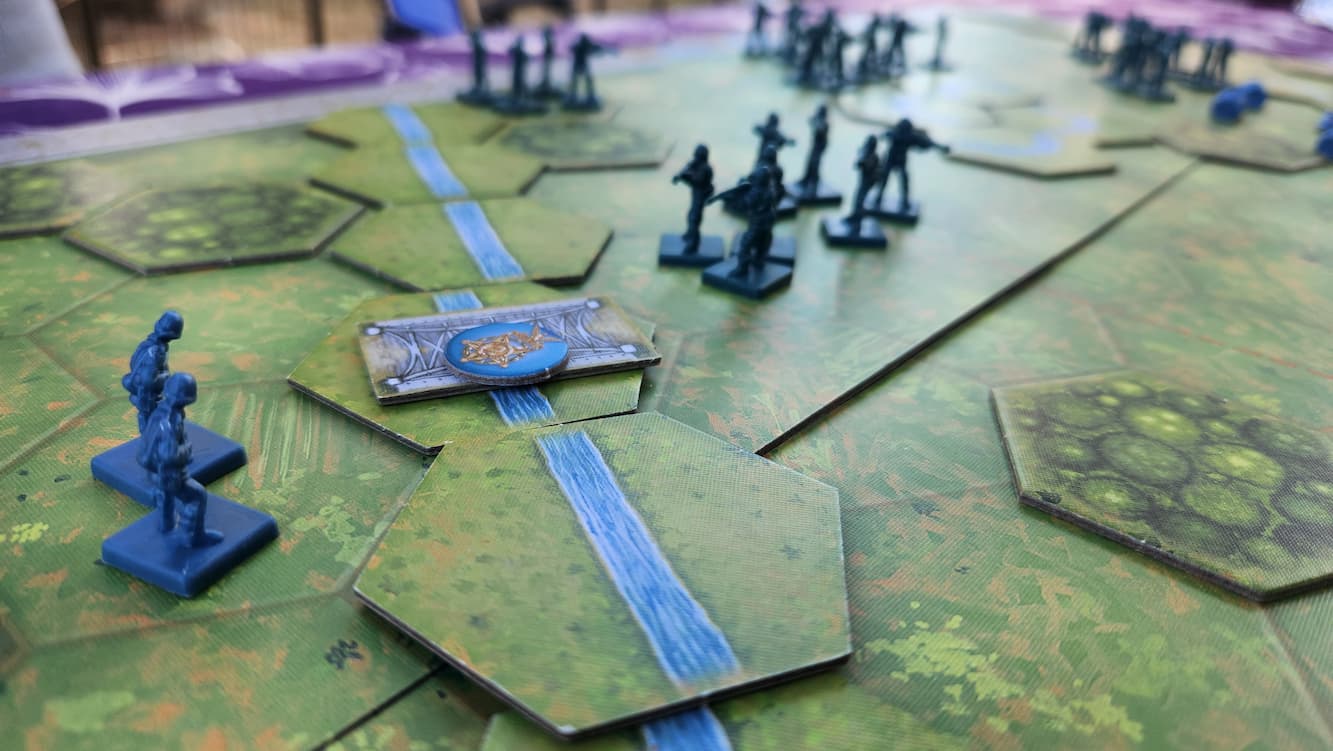
Trading Fire Across the Orne
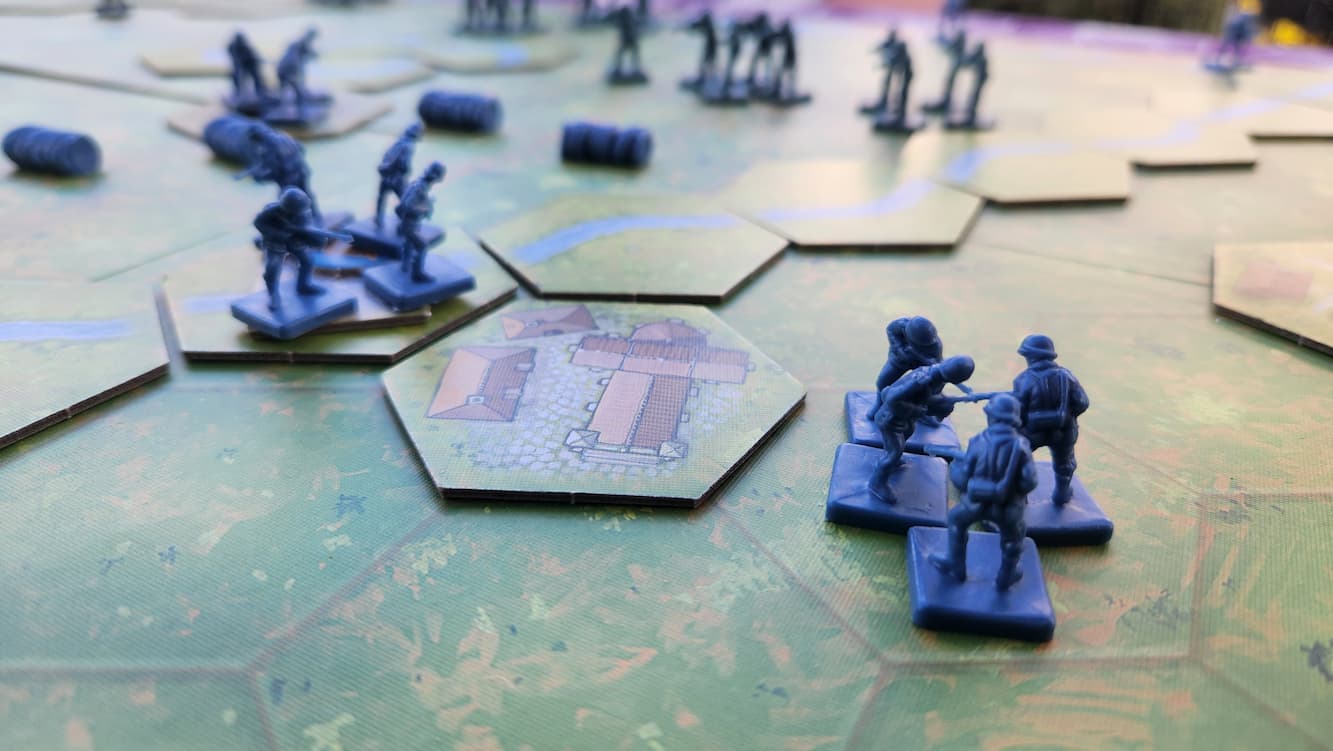
Axis reinforcements moved toward the bridge, gunning down an advancing squad. Allied troops reconsolidated, using “Recon in Force” tactics to press the left flank. One Axis squad was hit hard, and a rear Allied element eliminated another across the middle. On the right flank, however, dug-in defenders absorbed Allied fire, their sandbags canceling retreats.
"We’d laid the wire, stacked the sandbags, rehearsed for months. When they came, we just kept our heads down and fired back. Most importantly, the bridge held."
- Axis Engineer
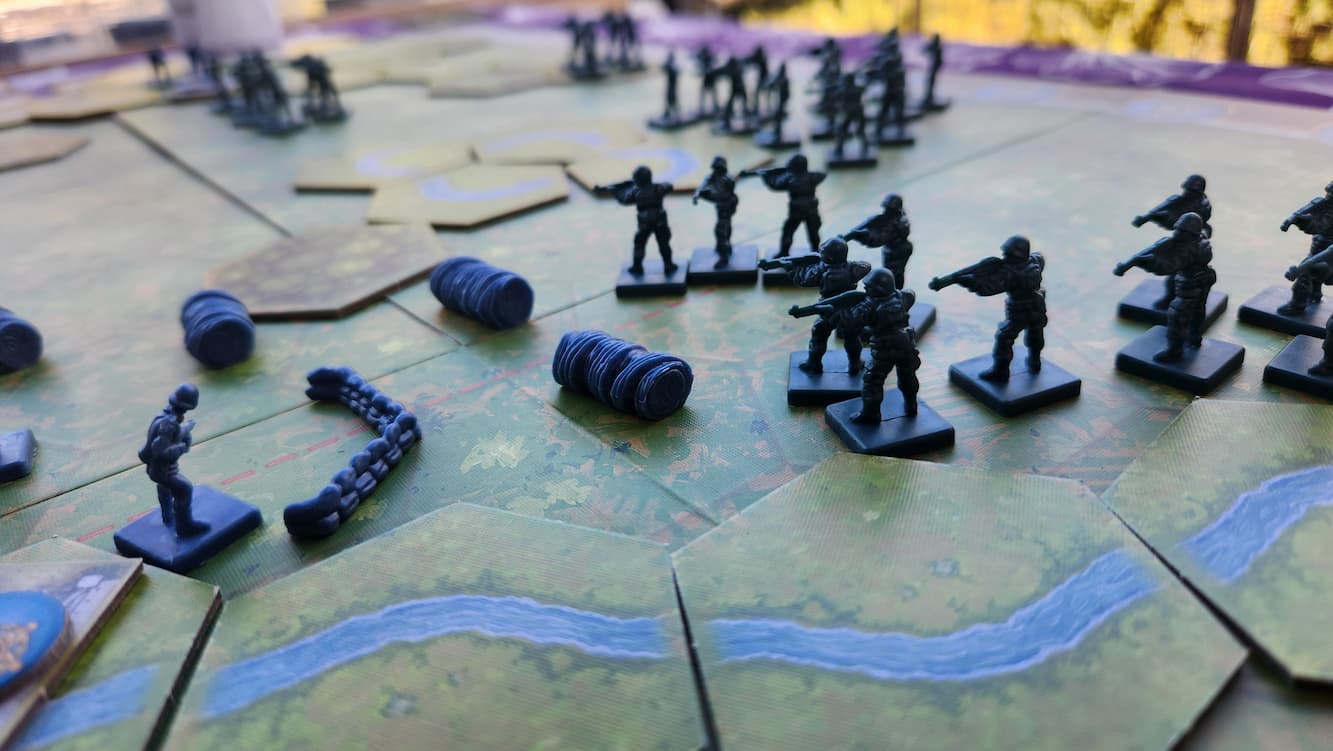
The Bridge Turns Red
Axis opened a devastating firefight over the bridge. Two Allied men fell in the opening seconds, and another squad retreated under withering MG fire. The dug-in squad killed yet another man from an advancing Allied unit, while a rear Axis squad killed two more.
Allies, bloodied but determined, launched another Recon in Force. A retreating unit charged forward to secure the bridge, supported by flanking fire that killed an Axis soldier and forced a retreat. On the opposite bank, however, entrenched Axis troops held firm.
Axis Counterstroke
Axis HQ coordinated four squads at once. One retreating squad returned fire to the bridge, killing the last Allied soldier and wiping the post clean. A four-man unit advanced on the left flank, firing on Allies pushing toward the bridge and killing one. On the right flank near town, the dug-in squad fired back at advancing paratroopers, killing one man, and a rear squad finished them off.
By this point the Allies had lost two of their nine squads. Axis defenders still held both bridges and strong positions in the towns.
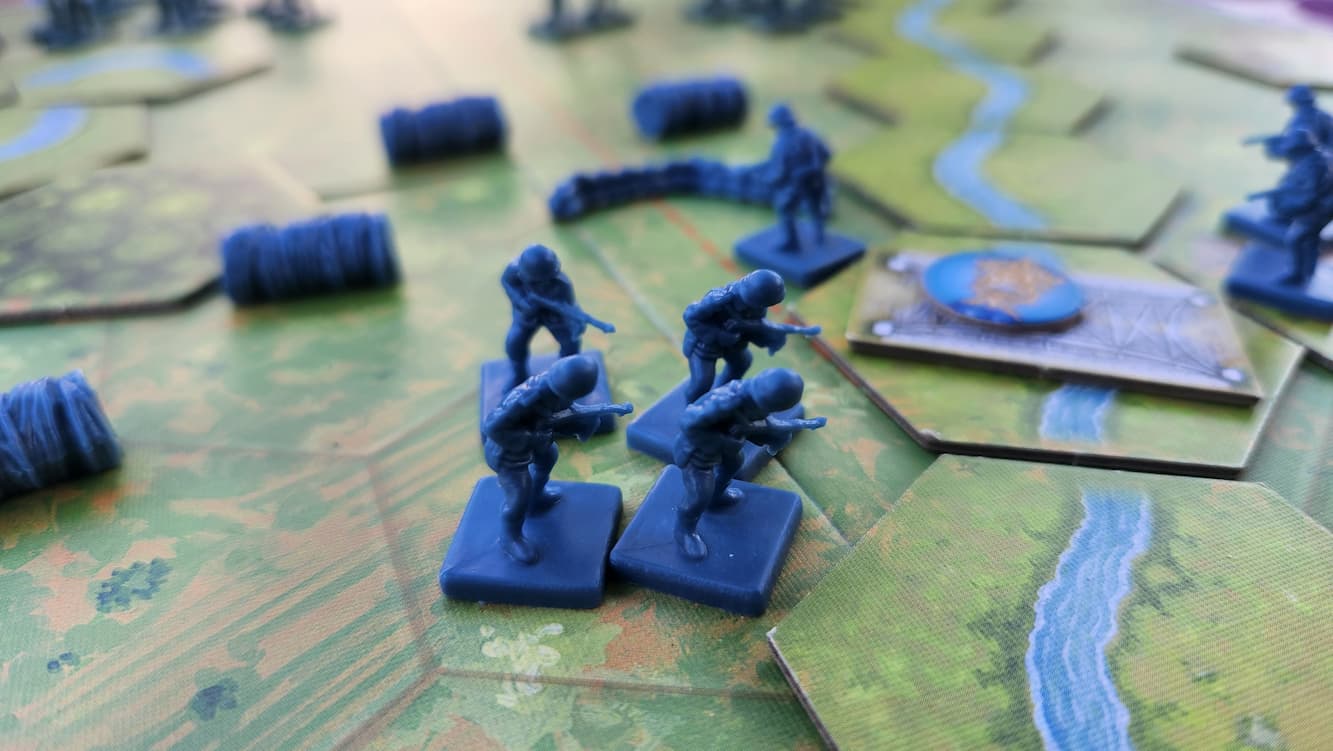
Behind Enemy Lines
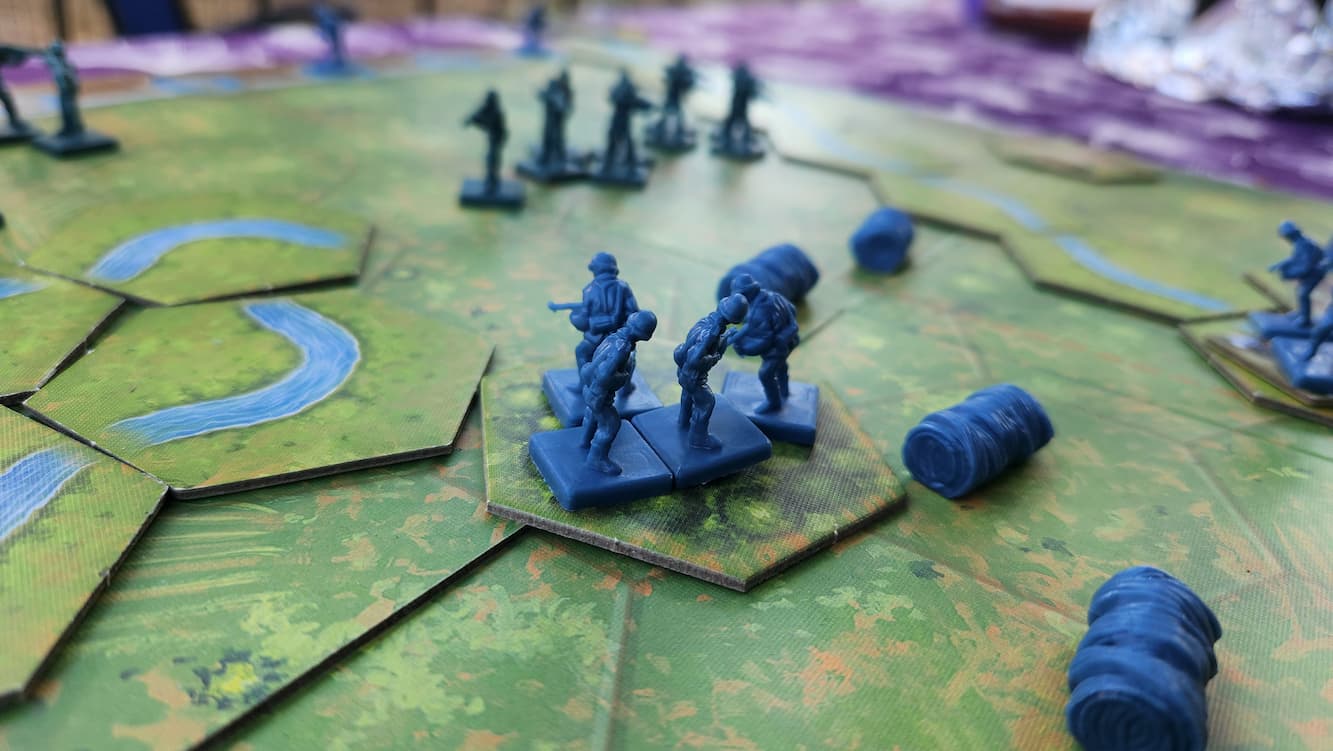
Desperate for momentum, the Allies played “Behind Enemy Lines.” A paratrooper unit sprinted across the far bridge, ambushing an Axis squad, killing three and forcing a retreat... then slipping back to secure the bridge once more.
"We were behind their lines before they knew it. Took the shot, dropped three, and back over the bridge we ran. Best five minutes of the war."
- Paratrooper Sergeant
Axis countered with a pressed attack on the left flank, the two one-man Axis units killing two Allied soldiers, leaving a lone man who retreated off the bridge. Allies quickly moved back onto the bridge, killing one of the Axis attackers.
Control of the Center
Axis struggled to issue orders to distant flanks, pushing instead through the center. Dug-in defenders fired into a small Allied squad and forced a retreat while other Axis troops pressed forward through barbed wire.
Allies countered in the center. A retreating squad surged forward, killing the dug-in Axis squad at last. Axis forces were now down two squads, with only four remaining.
But Axis command rallied all four for one last coordinated push: a lone infantryman advanced on the left to contest the bridge; another squad pushed through the forest to snipe an Allied soldier; a third moved from town to hold the bridge; and a final corner squad prepared a last stand in the cities and bridges.
The Last Push
The Allies responded with a counter-assault, issuing orders to four units. On the far bridge, a lone Allied soldier moved forward, forcing Axis to retreat. Three Allied squads advanced on the center and right, killing two Axis figures and forcing another retreat.
Axis struck back. On the far left flank, the duel between two lone infantrymen ended when Axis finally killed the Allied unit. On the right flank, Axis moved back to hold the bridge, missing their shot but repositioning. Another squad rounded the town, forcing an Allied retreat.
"We didn’t have much left, but we knew if we could hold the bridge, the day was ours."
- Axis Platoon Commander
Allied troops pressed the right flank, two squads assaulting the unit emerging from the town, killing two men and forcing a retreat.
Final Shots at Pegasus
Axis issued a last stand order to assault the center flank. The sole surviving squad hidden in the forest fired a precise burst into a small Allied unit, getting the final kill and earning the fourth medal. With that, the Allies were in full retreat and Axis forces still held Pegasus Bridge.
After-Action Analysis
The Clash at Pegasus Bridge ended in an Axis victory.
- Entrenchment and Sandbags: Axis dug-in positions absorbed repeated Allied fire, canceling retreats and breaking charges.
- Behind Enemy Lines: Allied daring briefly seized the initiative, but couldn’t hold under Axis counterattacks.
- Delayed Orders & Forced Retreats: Allied units repeatedly lost momentum. Communication delays and constant forced retreats kept them from massing for a decisive push, leaving each attack fragmented and easier to counter.
- HQ Coordination: Axis ability to issue full-board orders allowed them to counter every Allied thrust at critical moments.
- Endgame Resilience: Even with dwindling squads, Axis defenders made every shot count in the final rounds.
Final Score: Axis 4 Medals – Allies 3 Medals
The bridges remain in Axis hands... for now. Allied commanders vow to return with heavier firepower and reinforcements.